Building a full-stack application can feel overwhelming at first — especially when handling frontend, backend, and database together.
Angular and NestJS provide a powerful combination that makes development structured, scalable, and easier to maintain.
In this guide, we will build a simple full-stack application step by step using Angular for the frontend and NestJS for the backend.
– Both use TypeScript– Clean and scalable architecture– Strong community support– Ideal for enterprise applications
This combination allows developers to work efficiently without switching between different programming styles.
Install NestJS CLI:npm i -g @nestjs/cli
Create project:nest new backend
Run server:npm run start
Create module:nest g module tasksnest g controller tasksnest g service tasks
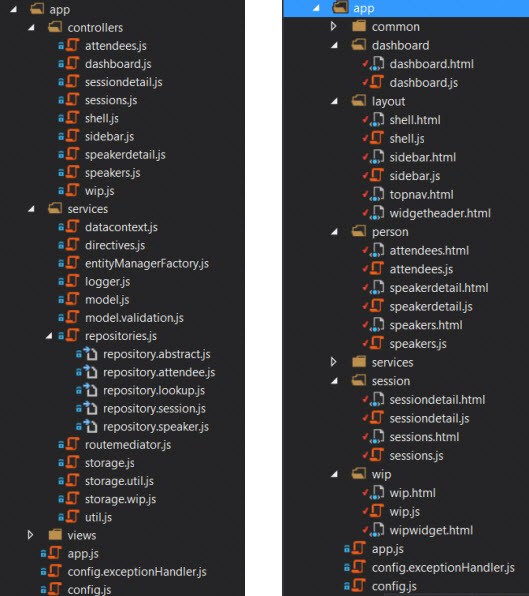
This creates a structured backend with a controller, service, and module.
Install Angular CLI:npm install -g @angular/cli
Create project:ng new frontend
Run app:ng serve
Create component:ng generate component tasksAngular handles UI and API integration efficiently.
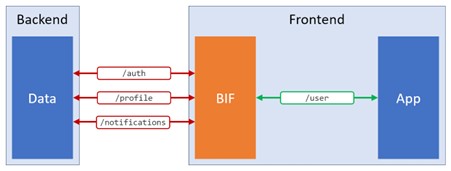
Angular communicates with NestJS using HTTP APIs.
Example:http://localhost:3000/tasks
If a CORS error occurs, enable it in NestJS:app.enableCors();
This allows smooth communication between the frontend and the backend.
Install dependencies:npm install @nestjs/typeorm typeorm pg
Configure the database and create an entity.
This allows for storing and retrieving data dynamically.
Using Angular and NestJS together provides a powerful full stack development experience.
With proper structure, scalability, and TypeScript support, this stack is ideal for modern web applications.
This step-by-step approach helps beginners and professionals build applications efficiently.