Introduction
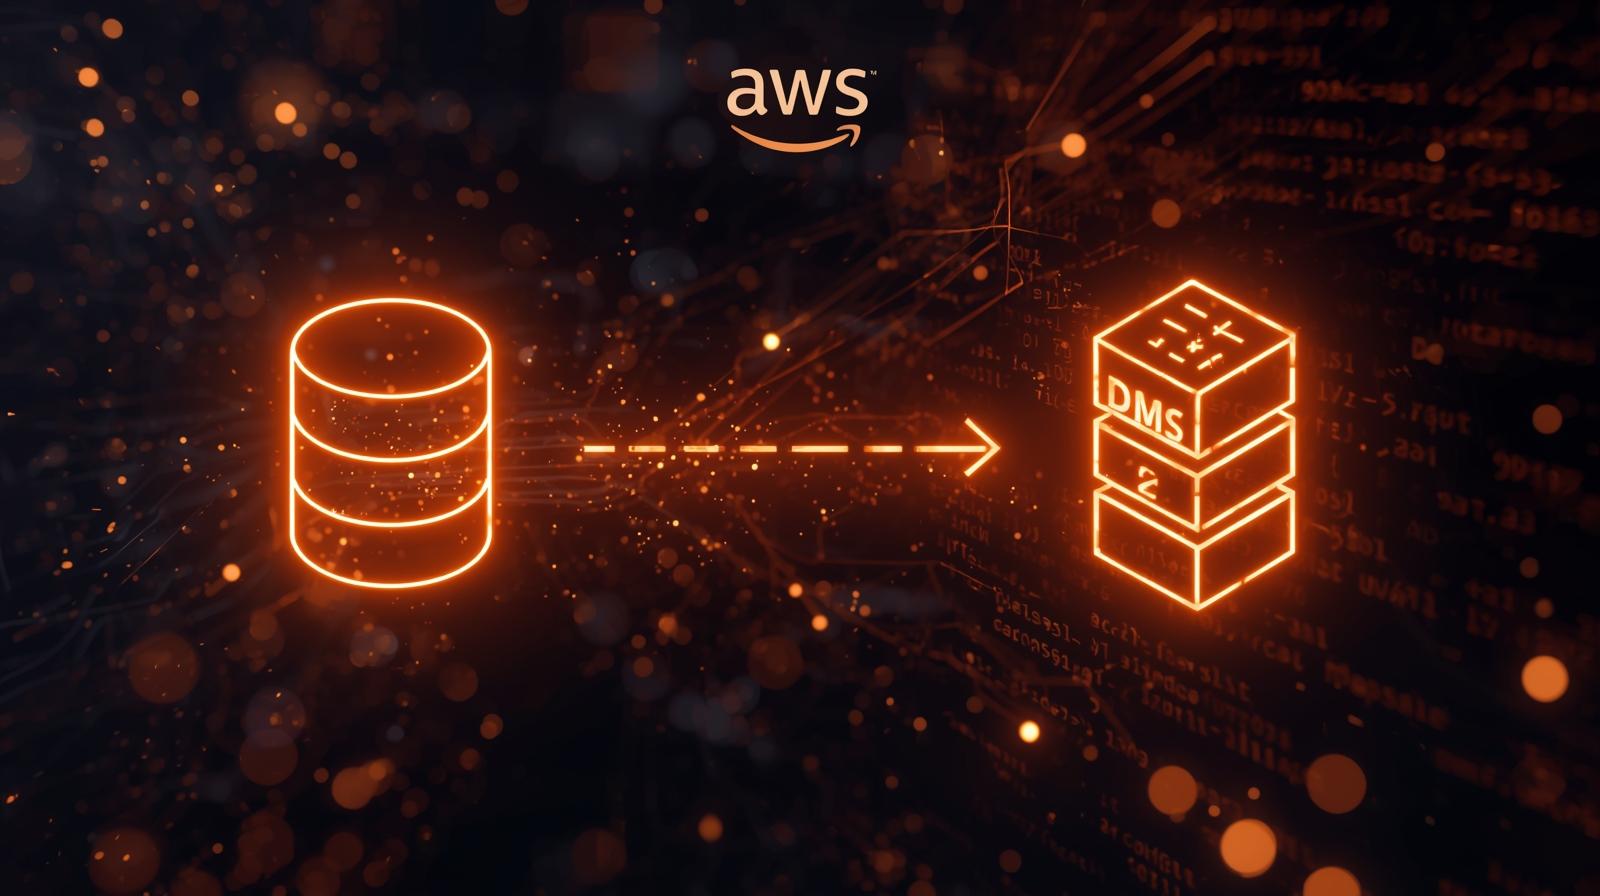
To transfer data from Amazon RDS (MySQL) to Amazon S3, one of the most effective tools at your disposal is the AWS Database Migration Service (DMS). This reliable, user-friendly, and fully managed service enables seamless data movement with minimal disruption to your existing systems.
Whether you’re performing a one-time bulk migration or setting up ongoing Change Data Capture (CDC) for real-time sync, AWS DMS offers flexibility, scalability, and robust performance. It significantly reduces manual overhead and mitigates risk, making it ideal for modernizing your data pipeline or building a centralized data lake.
Use Case: Migrating MySQL (Amazon RDS) to Amazon S3
Pre-requisites:
Before getting started, make sure the following are in place:
- Amazon MySQL is set up and accessible.
- Amazon S3 bucket is created to store the migrated data.
- AWS DMS instance is provisioned.
- Necessary IAM roles and permissions are assigned.
Why Use AWS DMS?
AWS Database Migration Service (DMS) enables you to migrate databases securely and quickly with minimal downtime. It supports:
- One-time full load
- Ongoing replication (CDC)
- Heterogeneous and homogeneous migrations
Connection Steps
Connect the MySQL-to-MySQL workbench using endpoints.
- Install MySQL Workbench
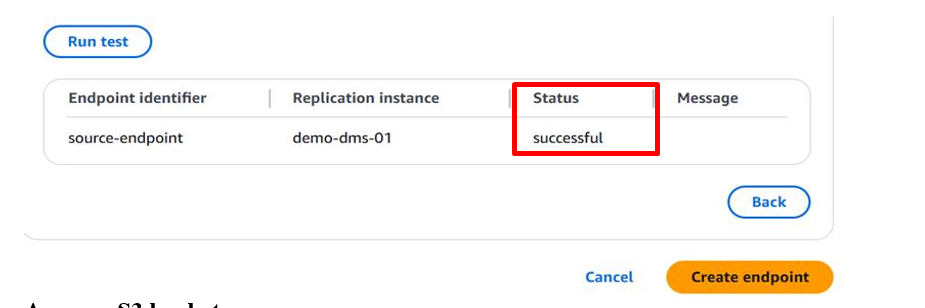
Create Source and Target Endpoints
Create a source endpoint for your on-premises MySQL server and a target endpoint for your Aurora cluster.
Source Endpoint (On-Premises MySQL):
- Endpoint Type: Source endpoint.
- Engine: mysql
- Server Name: The IP address or hostname of your on-premises MySQL server.
- Port: 3306 (default MySQL port).
- Username: Your MySQL username with replication privileges.
- Password: Your MySQL password.
- Database Name: The name of the database you want to migrate.
Target Endpoint (s3):
- Endpoint Type: Target endpoint.
- Engine: Aurora
- Server Name: The endpoint of your RDS MySQL.
- Port: 3306 (default MySQL port).
- Username: Your username, like admin.
- Password: Your MySQL password.
- Database Name: The name of the database you want to migrate (or create a new database).
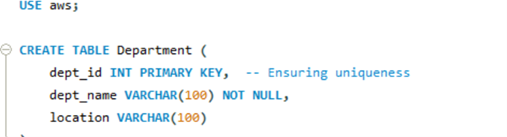
Create a table on MySQL
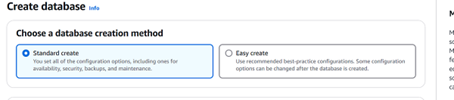
In the AWS Management Console, navigate to the RDS service and create a new Aurora MySQL cluster.
- Choose Database Option: Select “MySQL-compatible.”
- Engine Version: Select a MySQL-compatible Aurora engine version compatible with your on-premises MySQL version.
- Templates: Select “Production” or “Development/Testing” based on your environment.
- Instance Configuration: Choose the DB instance class (e.g., db.r5.large) based on your workload requirements.
Steps for Migration
Step 1: Create RDS MySQL Database
- Navigate to Amazon RDS in the AWS console.
- Select MySQL as the engine.
- Provide a DB name and configure settings as required.
Step 2: Create an AWS DMS Replication Instance
In the AWS Management Console, navigate to the DMS service and create a new replication instance.
- Name: Give your replication instance a descriptive name.
- Instance Class: Choose the instance class based on your database size and replication requirements. dms.t3.medium is a good starting point for smaller databases.
- VPC: Select the VPC where your s3 and on-premises MySQL server are located.
- Security Group: Configure the security group to allow inbound traffic from your on-premises MySQL server to the replication instance.
Publicly Accessible: Set to ‘No’ unless your on-premises MySQL server is publicly accessible.
Step 3: Create an S3 Bucket
- Open S3 in AWS Console.
- Create a new bucket in a region close to the RDS instance.
- Ensure IAM permissions allow read/write access for DMS.
Step 4: Create a Database Migration Task
Create a database migration task to migrate data from your on-premises MySQL server to your Aurora cluster.
- Task Identifier: Give your task a descriptive name.
- Replication Instance: Select the replication instance you created earlier.
- Source Database Endpoint: Select the source endpoint for your on-premises MySQL server.
- Target Database Endpoint: Select the target endpoint for your s3.
- Migration Type: Choose one of the following options like migration and replication and migration & Replication.
- Table Mappings: Define the tables you want to migrate. You can migrate all tables or select specific tables.
Step 5: Start the Migration Task
Start the database migration task. DMS will begin migrating data from your on-premises MySQL server to your Aurora cluster.
Step 6: Monitor the Migration Task
Monitor the progress of the migration task in the DMS console. You can view the status of the task, the number of tables migrated, and any errors that occur.
Step 7: Verify the Migration
After the migration is complete, connect to your s3and verify that the database, tables, data, stored procedures, triggers, and events have been successfully migrated.
Step 8: (Optional) Delete DMS Resources
- Delete the DMS replication instance
- Remove the endpoints
- Retain or archive the S3 data as per your retention policy
- To prevent additional costs
Conclusion
Migrating from Amazon RDS to Amazon S3 with AWS DMS is a strategic and high-impact move toward building a modern, scalable, and analytics-ready data platform. With its ability to deliver near-zero downtime, continuous data replication, and cost-efficient storage, AWS DMS empowers you to accelerate digital transformation with confidence.
Unlock the full potential of your data infrastructure—kickstart your AWS DMS migration today and drive intelligent, data-driven outcomes!